Day: January 10, 2017

Installing the Diamondhead D-45 45 degree Off-Set Sight Set

First make sure the rifle is unloaded!

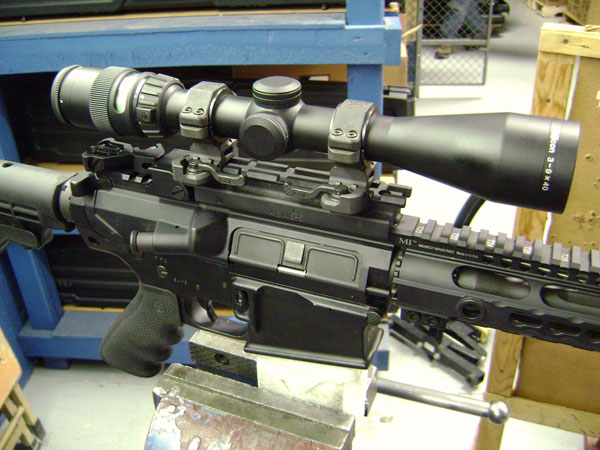
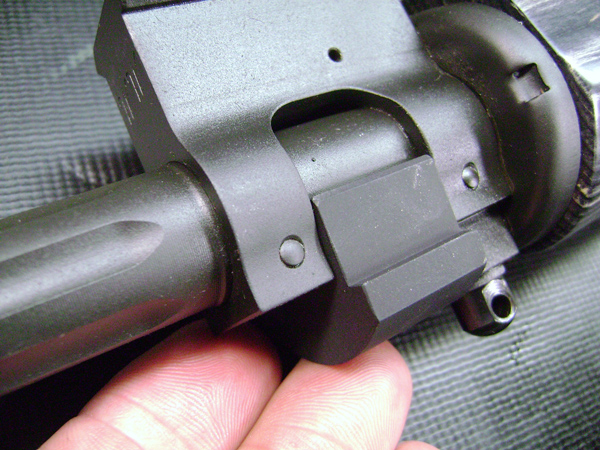
If you need a good option for back up iron sights but have no room for conventional sights because of your scope set up, the Diamondhead D-45 sights may be just what you need.

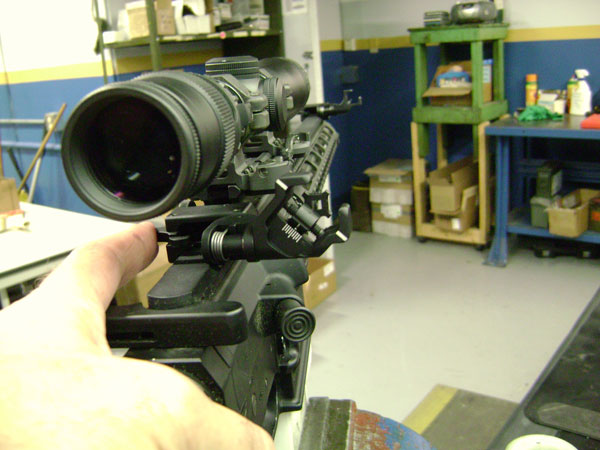
With these sights you can flip them out and aim down the side of the rail of your rifle rather than on top in the conventional way.

You just screw them on to the front and the back in the appropriate locations, and then push the little switch on the sight base to deploy. They flip out and up all in one quick motion. This way if you are trying to hit a target closer in than you are able to pick up easily with the scope, you can easily flip the iron sights out for this application. Also if your scope becomes damaged in the field you now have a very important back up sighting rig.

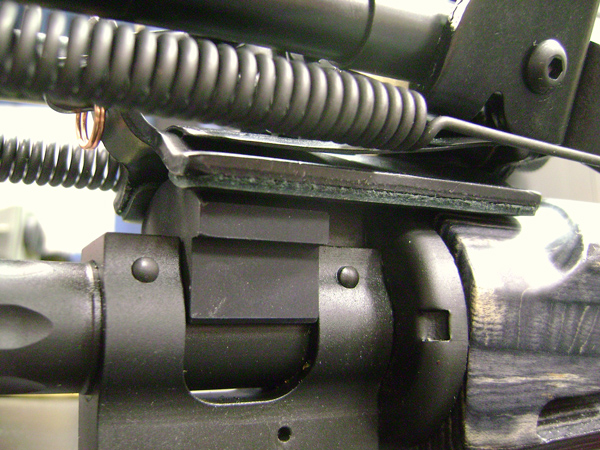
This set will work on both a long railed handguard on the same plane as the upper, or on our SRC models with the same plane gas block up front.

The Diamondhead D-45 45 degree Off-set Sight Set call Sales / Customer Service at: 1-808-855-1888.
Installing the Troy Ambidextrous Magazine Release

First make sure the rifle is unloaded!

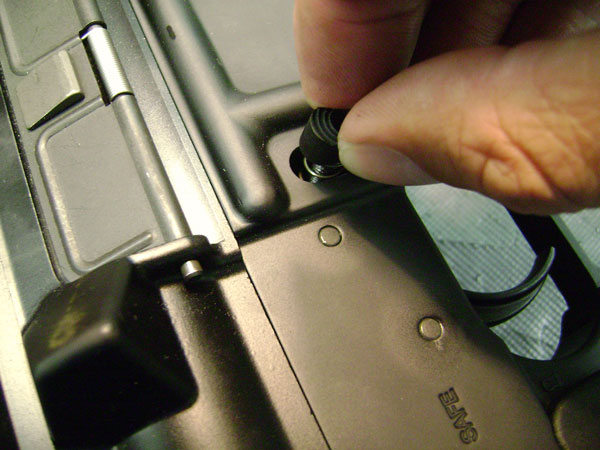
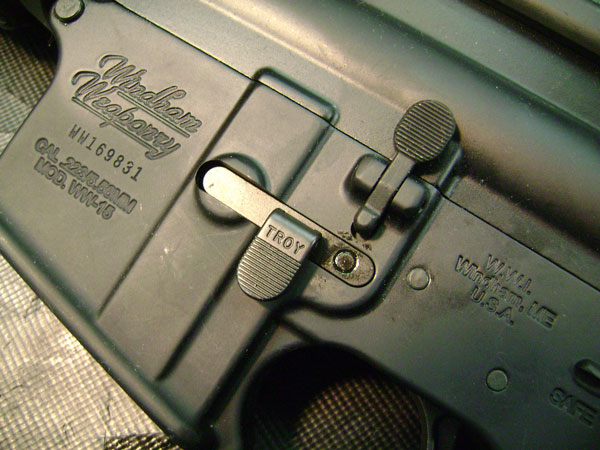
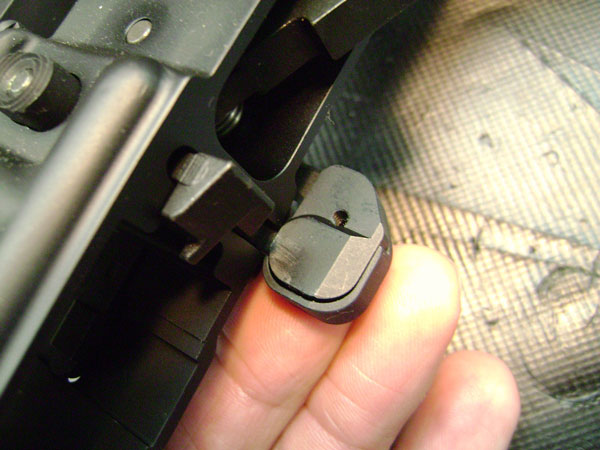
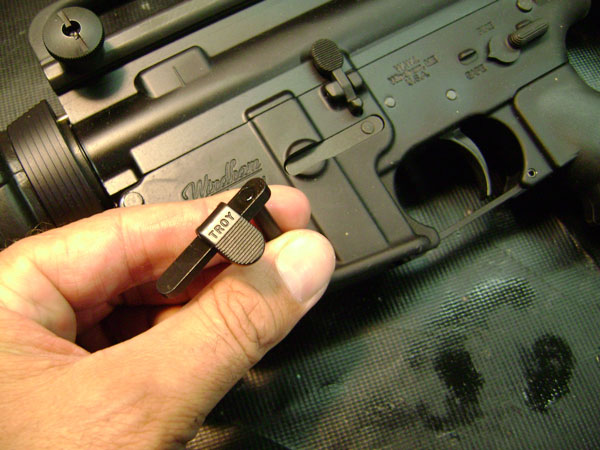
With the chamber plug that came with the rifle or some other non-marring punch, push the magazine catch button in as far as it will go. Unscrew the magazine catch from the button and remove.

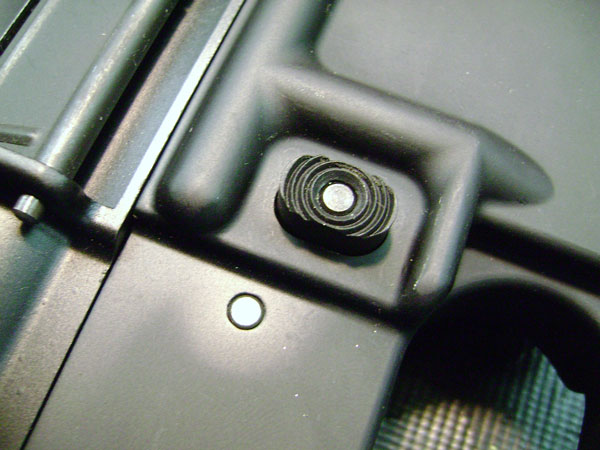
Put the Troy mag catch in the lower and screw the button in against the mag catch spring until you can’t turn the button any more. Then use the chamber plug again to push the button in as far as you can once again. Screw the new magazine catch in about 4 turns and release it back into slot in the lower.

The mag catch should be flush with the end of the button or just under as shown.

Now you can release a magazine easily using either your right or left hand by pushing on the button, or pushing on the serrated cam on the magazine catch.

Troy Ambidextrous Magazine Release is available online or call Sales / Customer Service at : 1-808-855-1888

How to install a CMC Drop In One Stage Trigger

First make sure the rifle is unloaded, and push out the takedown and pivot pins to remove the lower from the upper receiver. Put the selector on fire and drop the hammer.
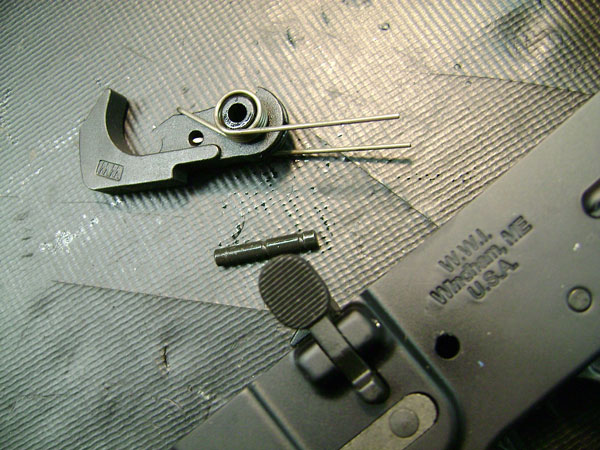
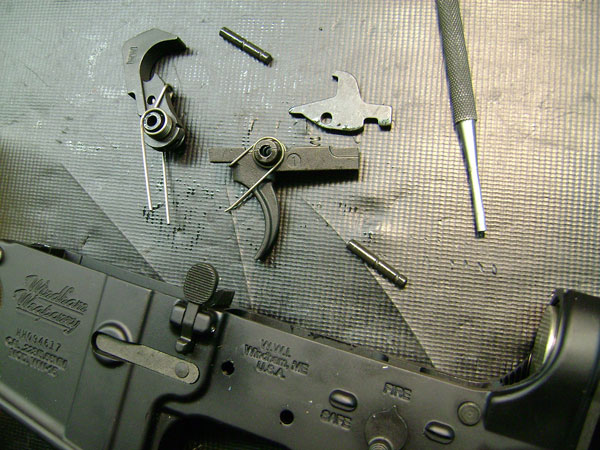
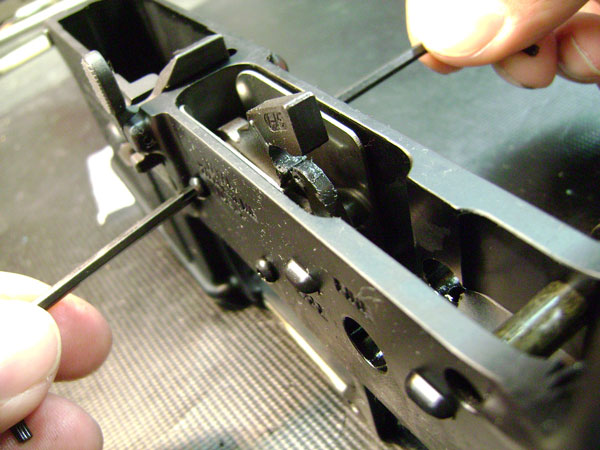
With a 1/8″ punch, drive out the hammer and trigger pins and remove the hammer, trigger and disconnector.

Now with a 3/16″ T handled Allen wrench remove the pistol grip. Be aware of the safety detent spring in the grip and the detent in the lower when you remove the grip. Remove the detent and set it aside so it doesn’t get lost and leave the spring in the pistol grip.

Remove the safety and drop the CMC trigger into the lower.


Insert the hammer and trigger pins and push them in flush.

With provided Torx wrenches install screws in the hammer and trigger pins and tighten down snugly.

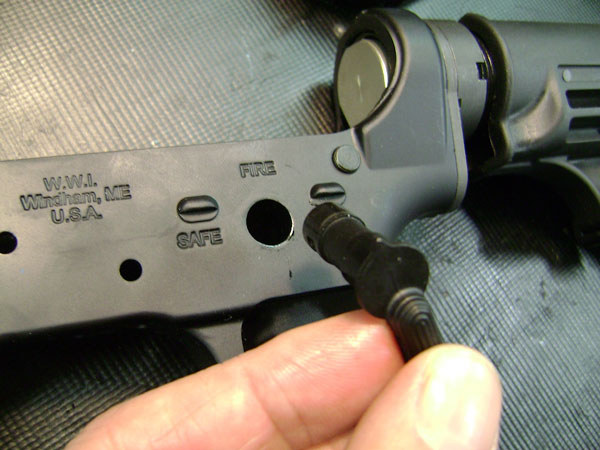
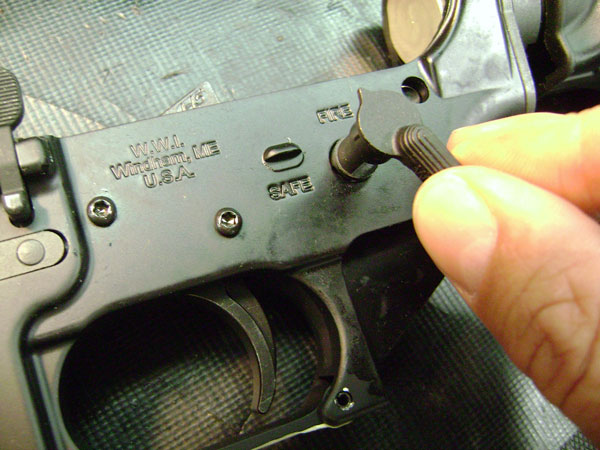
Replace safety, detent, spring and pistol grip.

Function test to verify proper function. Check safety to make sure the hammer doesn’t fall with the safety engaged.

The CMC Drop In One Stage Trigger is available on-line or call Sales / Customer Service at: 1-808-855-1888

Installing the Magpul B.A.D. Lever

First make sure rifle is unloaded.
Then remove receiver from the lower.
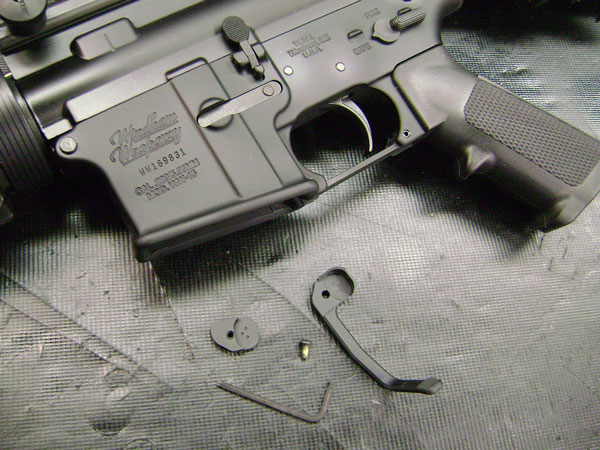
Place the lever over the bolt catch.

Place backing plate behind the bolt catch.

Install and tighten screw with provided Torx wrench.

You can now engage and disengage the bolt catch with your trigger finger for rapid operation of the bolt catch. (Note that this lever only works on standard AR15s. Not designed to work on a .308 platform.)

Magpul B.A.D – BUY IT NOW

Installing the Bipod Adapter for our Wood-Stocked Rifle Models

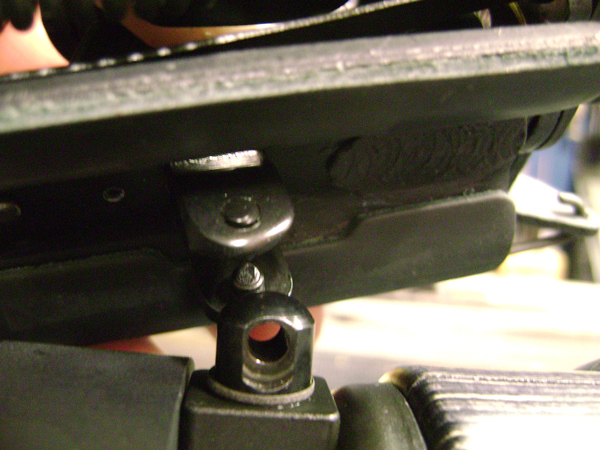
With this adapter it is possible to securely mount a Harris bipod to these rifles without the bipod tilting upward.

First, insure that the rifle is empty.

Then install the spacer and bipod as shown.


Unscrew knurled knob on bipod so you can squeeze the clamping bar to open it wide enough to go over the bipod stud.


Once the clamping bar is over the stud, screw the knob down tight.


Using the Handguard Removal Tool

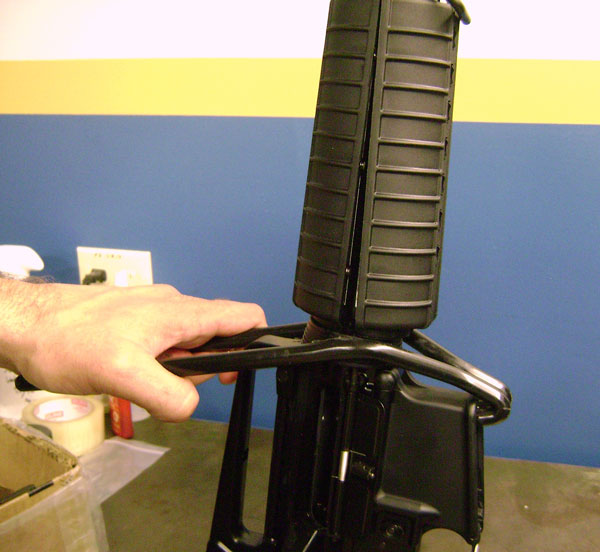
In your rifle operating and safety manual, removal of the handguards for standard rifles and carbines is covered on page 23. For some this can still be somewhat challenging. To make it much easier you may find the Handguard Removal Tool very helpful. It’s very easy to use, and you can pop your handguards off by yourself in seconds. Here’s how you use it.

First make sure your rifle is empty.

Now push the removal tool on as shown so the hook end is engaged in the magazine well.


Push down on the two handles evenly to compress the delta ring as far back as it will go and separate the handguards. Sometimes you may still have to tap the seam between them on the edge of a table to get them to separate. Once they have separated you can very easily pull them off.

You can also use the tool to compress the delta ring to reinstall the handguards.

Handguard Removal Tool – BUY IT NOW

Gas Ring Replacement

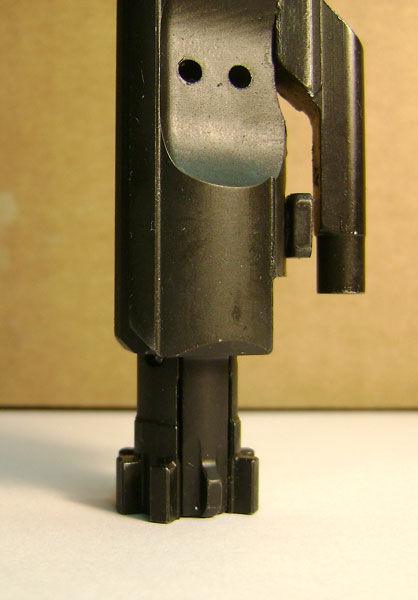
The easiest way to tell if your gas rings are in need of replacement is if you extend the bolt out of the carrier as far as it will go and place it like so on a table.


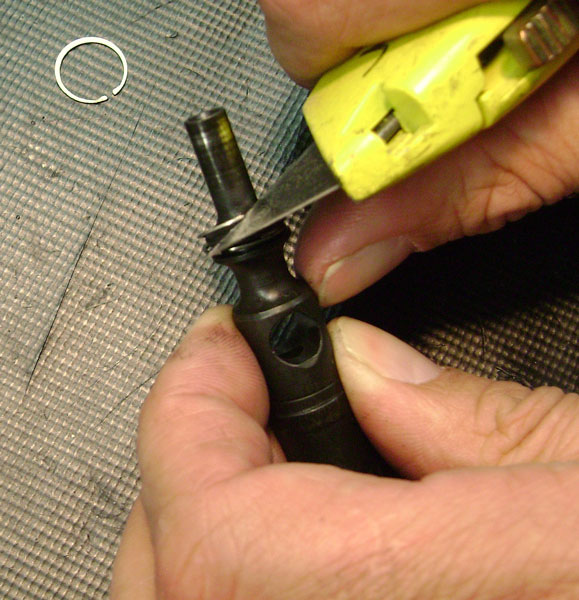
If the carrier falls down over the bolt under its own weight like this, the rings are worn out and need to be replaced. To replace them simply take the carrier apart as described in the Rifle Disassembly, Cleaning and Maintenance section of your owner’s manual. Use the tip of a razor knife to pluck the rings out of the slot in the bolt, and just chase them around with the blade until they all pop out.


Then take your new rings and with your fingers chase them around the slot until they are all in place. Separate the breaks in the rings so they are not all in line.


With the new rings in place the carrier should no longer fall over the bolt under its own weight and you are good for several hundred more rounds.

AR15 / M16 Gas Ring Set – BUY IT NOW

Midwest Industries AR10 Gen 2 .308 Handguard and Inforce WMLx 500 / WML200 Light.


First make sure the rifle is empty then remove the upper from the lower receiver.
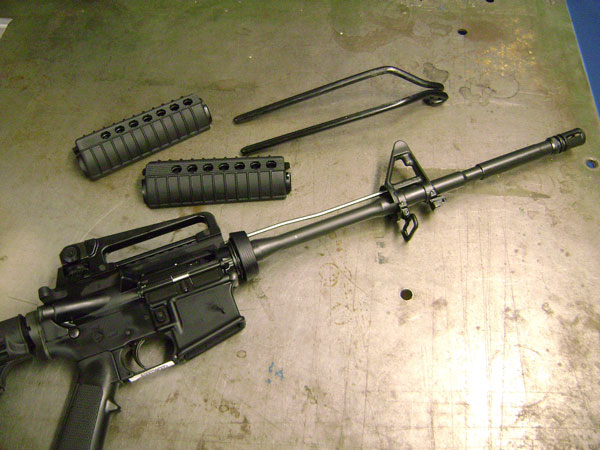
Remove stock handguards.


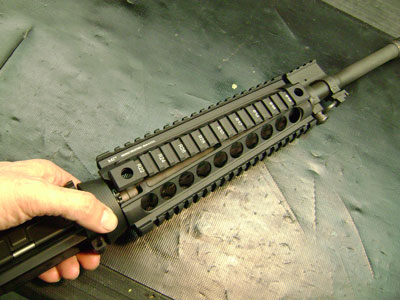
Insert the front portion of the upper handguard with the “T” markings on top under the handguard cap. Pull the delta ring back until it’s resting on the handguard.


Put the lower half on the same way then snap both halves into place under the delta ring.


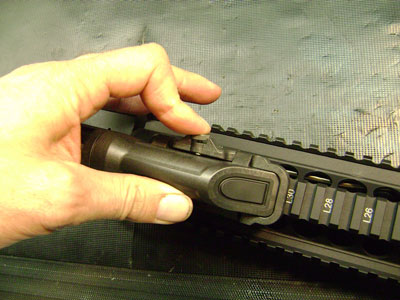
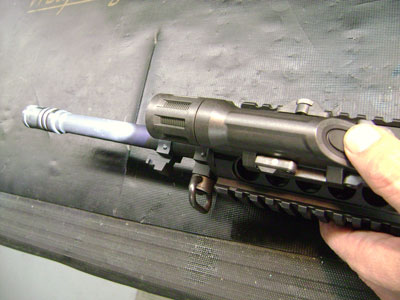
Unscrew the knob on the light clamp then squeeze it to snap the light onto the side rail of the handguard. If you are right handed mount to the left side, if you are left handed mount to the right side.

Tighten the screw to secure the clamp.

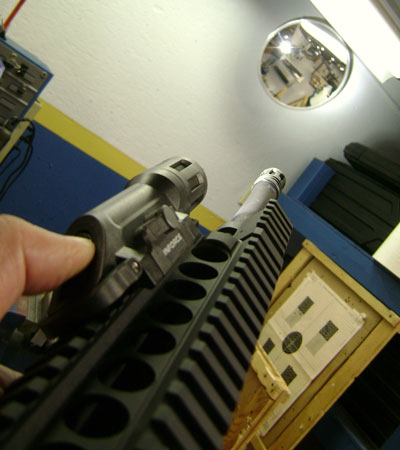
The switch on the side is so you can use the pressure switch so the light turns on when you press it and off when you release, or to make it stay on steadily when the pressure switch is hit then released.

To keep the light from turning on when not in use move the safety block over the pressure switch.


Midwest Industries AR10 Gen 2 piece Handguard – BUY IT NOW
Inforce WMLX 500 Lumen Light – BUY IT NOW
Inforce WML 200 Lumen Light – BUY IT NOW

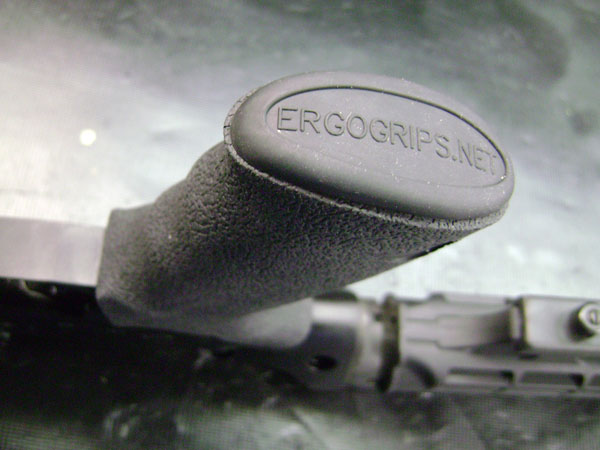
Installing the ERGO SureGrip on the WW .308

Since the .308’s pistol grip install is a little different from a mil-spec AR15, here are instructions for properly installing the ERGO SureGrip, or any other kind of AR15 pistol grip on the Windham Weaponry .308. To purchase an ERGO SureGrip, please see the link at the bottom of this article.
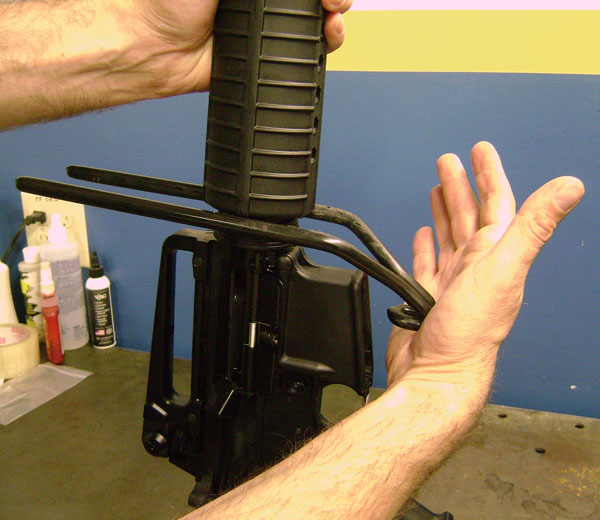
Note that the little rubber trigger guard spacer that comes with the ERGO grip is not needed on the .308 since the trigger guard is forged into the receiver and not a separate piece.

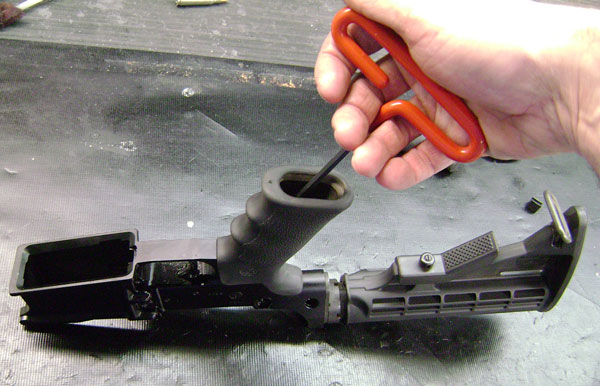
First make sure rifle is unloaded then push out the pivot and takedown pins and remove lower from upper. Holding the lower upside down remove pistol grip screw with a 3/16″ T-handled Allen wrench.

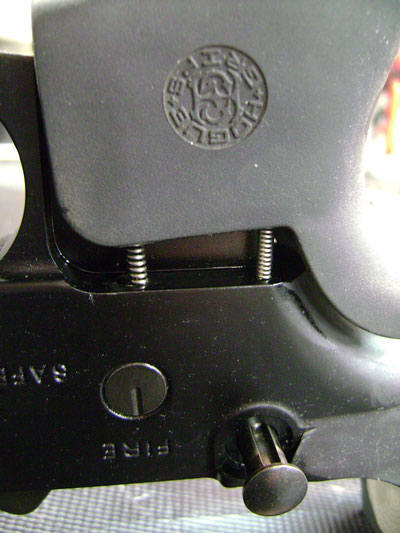
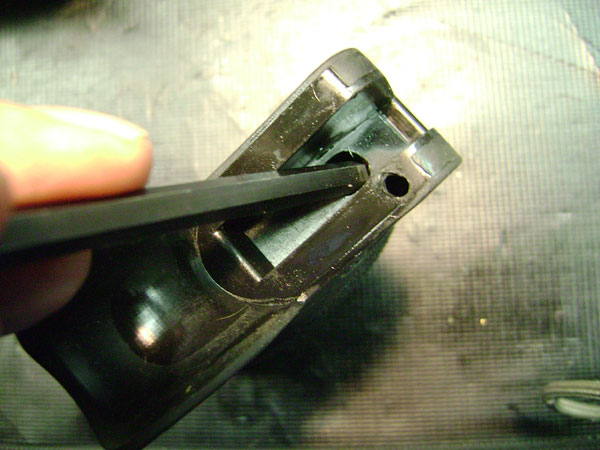
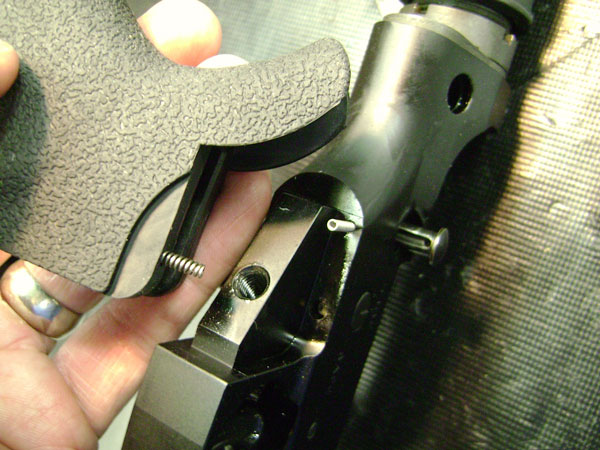
Pull grip straight up off lower. This will reveal the safety detent spring and the takedown detent spring. The safety detent spring will come out of the pistol grip. Leave the takedown pin detent and spring in the lower receiver and keep the lower on the bench as shown. This way you will not lose the safety detent or the takedown detent or spring.


Usually the pistol grip washer will be stuck in the rubber inside of the grip. Going through the top side of the pistol grip hole with the Allen wrench you can dislodge it from inside. Once you have done that put the washer on the pistol grip screw.


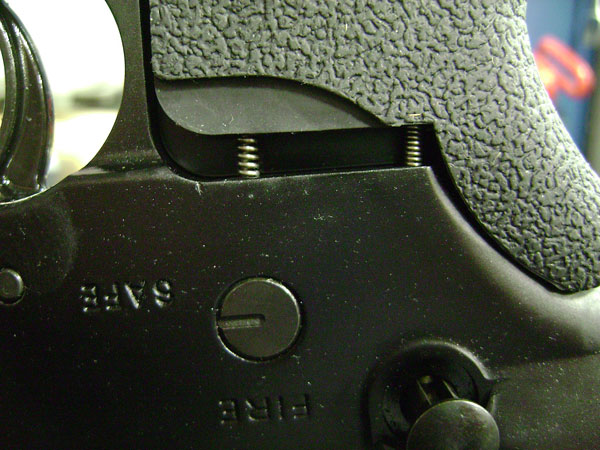
Put the safety detent spring in the hole in the ERGO grip and carefully push the grip straight down onto the lower. Be sure to compress the springs straight down and not to bend them over.


Screw pistol grip screw back on until it is snug and the grip is solidly on the lower. Push rubber plug into the bottom of the grip.


Do a check of the takedown pin to make sure it is still held securely in place by the detent. If it pulls off in your hand remove grip and reinstall using the pictures above as a guide to the proper orientation of the takedown pin.

ERGO SuperGrip for AR15 / AR16

Installing the Mission First Tactical’s 2-piece Railed Handguard Set


First, make sure the rifle is unloaded, and then push out the takedown pin and the pivot pin and remove the upper from the lower receiver.

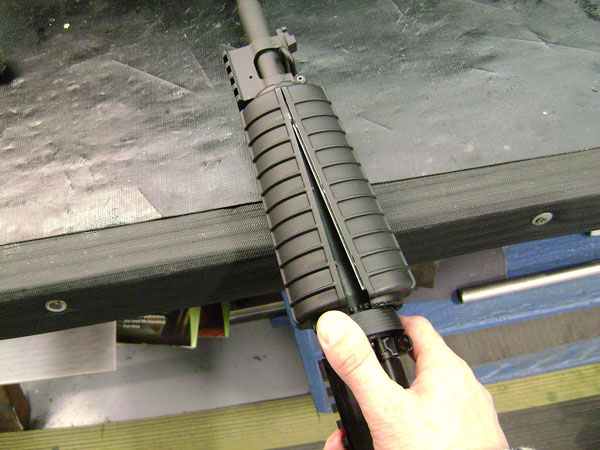
While pulling back on the delta ring tap the seam where the handguards come together on the edge of a table. When the handguards separate remove them from the upper. This may require two hands. If it is too difficult to remove, have another person separate the handguards while you hold the delta ring back.

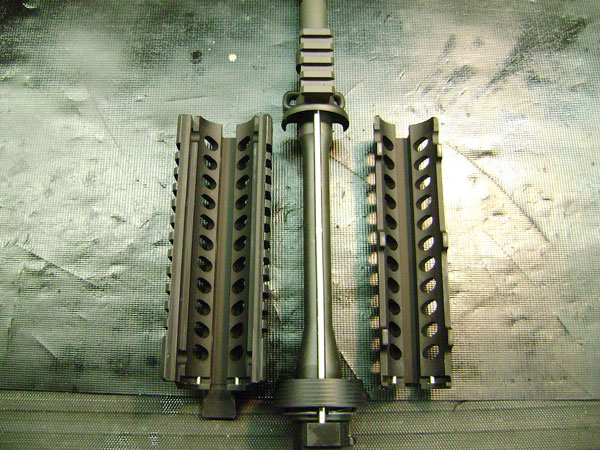
The largest half of the MFT handguard goes on top. Note the orientation and where the groove in the back of the handguards will fit on the teeth of the barrel nut.

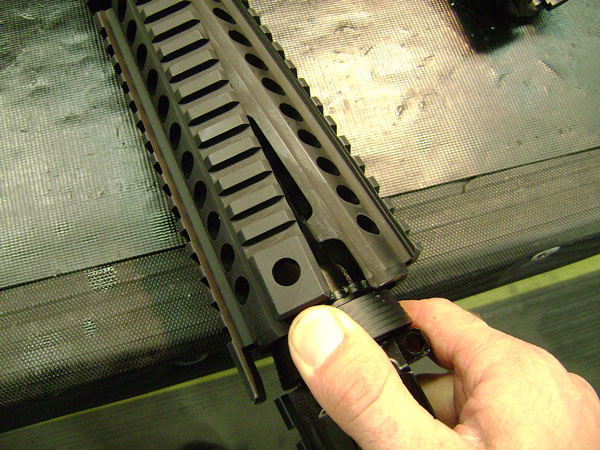
Put the front portion of the top handguard under the handguard cap, pull back the delta ring enough for the back of the handguard to rest under the delta ring. Then put the front portion of the lower handguard under the handguard cap and also pull the delta ring back far enough for it to rest on top of the handguard.


Now squeeze the two halves together until they snap all the way under the delta ring. If they are too difficult to seat all the way by squeezing them together use a plastic or wooden mallet to tap them into place.


Click here to buy the Mission First Tactical Two-Piece Handguard Set:

0
YOUR CART
0
Your cart is emptyRETURN TO SHOP