First make sure weapon is empty. Push in pivot pin and open rifle. Remove bolt carrier and charging handle from the upper.
You will need a small hammer, 1/16″ punch, 1/16″ roll pin holder, paper clip, wire cutters, a block of wood (soft wood like pine), thumb tack and a wide punch. Wear safety glasses.
The block of wood should have a hole drilled in it to rest the charging handle over for when you drive out the roll pin. This hole will capture the roll pin.
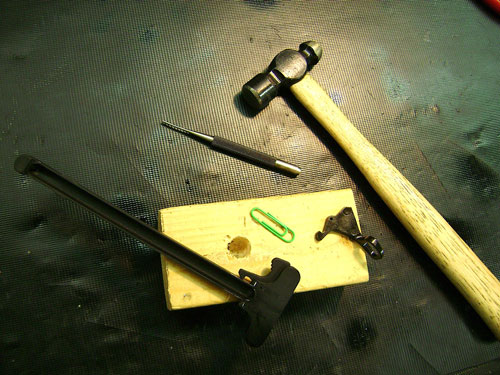
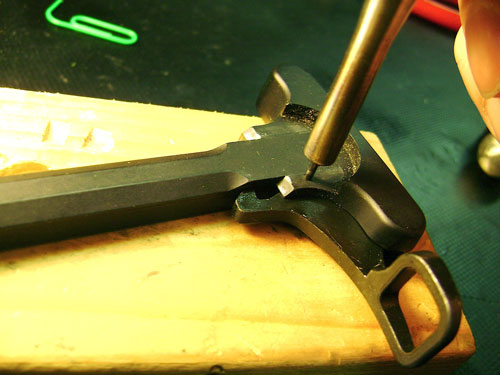
Using the 1/16″ punch, drive out the roll pin from the back side of the charging handle. It’s easier from this side as the roll pin is slightly recessed there.


Now take the thumb tack and drive it all the way into the block of wood. Rotate it around a bit when you take it out to enlarge the hole slightly.

Then with the wire cutters snip off a piece of the paper clip approximately the same length as the pin on the thumbtack. For this I used a coated paperclip with a diameter of about .050″. One even slightly thicker would work even better as the latch roll pin size is about .063″ but this is what I had laying around my bench and it worked fine. You might find some other kind of stock available that will work even better.
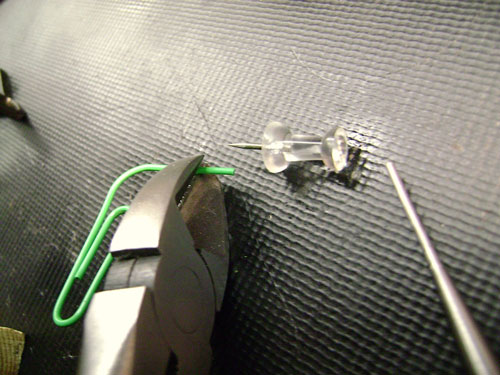
Put the piece of paper clip in the hole just far enough so it stands firmly on its own. Not too loose, not too tight.

Insert the tactical latch like so and press it into the latch spring in the charging handle visually lining up the hole in the latch with the holes in the charging handle.
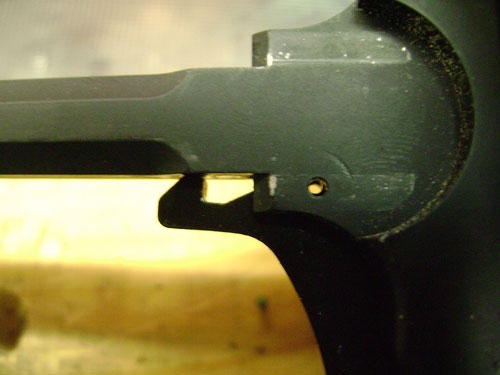
Now place the whole assembly onto the block of wood pushing it down onto the paper clip through the pin holes in the charging handle. The paper clip will now hold the latch in place like so

Now put the roll pin in the roll pin holder and start the roll pin into the hole

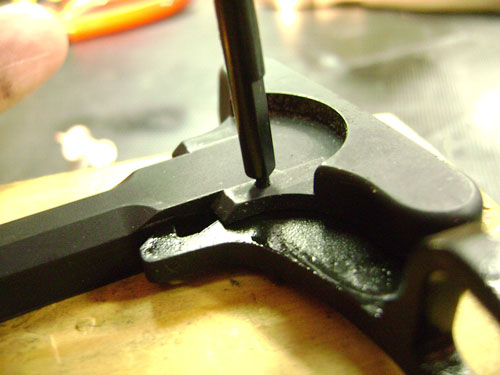

Now take a wide punch and drive the roll pin home. This will drive the paper clip out and down into the block of wood.